
First Start
Choose local storage, connect CivitAI, and add your first image and archive folders.

Livebound shows a setup wizard before the normal application when the current installation has not chosen a data directory yet.
Each application folder owns its own local configuration under .livebound/. A newly extracted release or fresh clone therefore starts independently even when the same operating-system user already has another Livebound installation. Livebound does not search your home directory for another installation to adopt.
Seven steps, of which four are required: a data directory, a connected CivitAI account, at least one image folder, and an archive folder. The wizard says which of those is still missing if you try to finish early.
The other three folders are optional and can be skipped with one click. Each says what it is for and what does not work without it, so skipping is a decision rather than a shrug. Everything here — including anything you skip now — can be changed later in the settings.
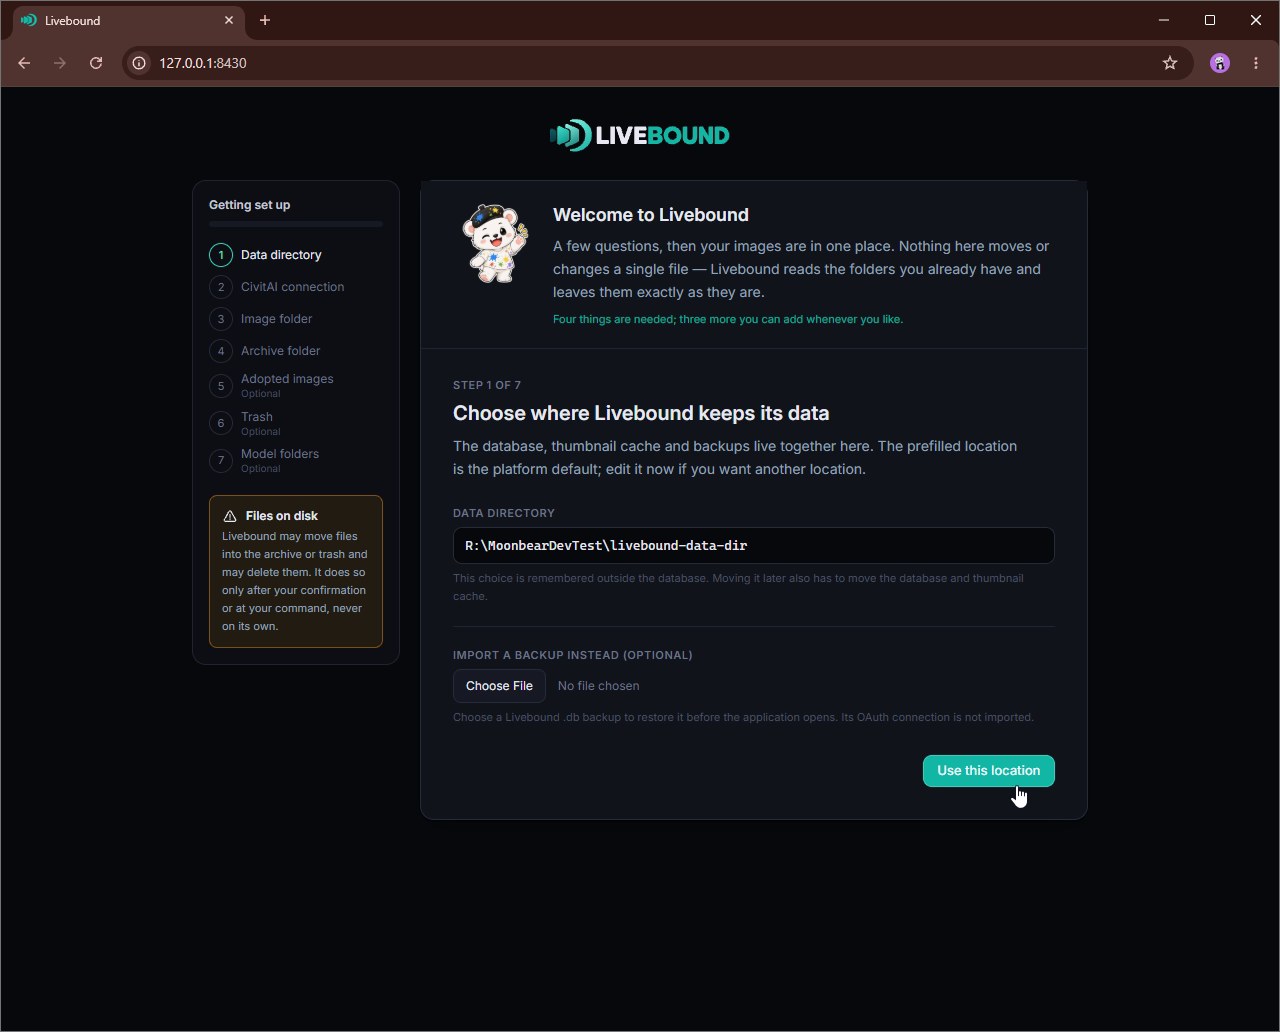
1. Choose the data directory
The data directory holds Livebound’s database, thumbnail cache, backups, and other application state. Your source images remain in the folders where you already keep them.
For a fresh installation, Livebound suggests:
<application-folder>/.livebound/data
You can accept that path or choose another directory. It has to be empty: the wizard sets a directory up, it does not adopt one that is already in use. If this is a newly extracted version that should continue an existing installation’s state, do not use the wizard for it — copy that installation’s .livebound/ folder across instead, and it starts straight into the library. Installation has the steps.
After you choose, the current installation remembers the selection in:
<application-folder>/.livebound/config.json
That pointer belongs only to this application folder. Another extracted copy or clone has its own pointer and can use a different data directory.
You can also import a Livebound database backup during this step. The backup is validated before it replaces the empty first-start state.
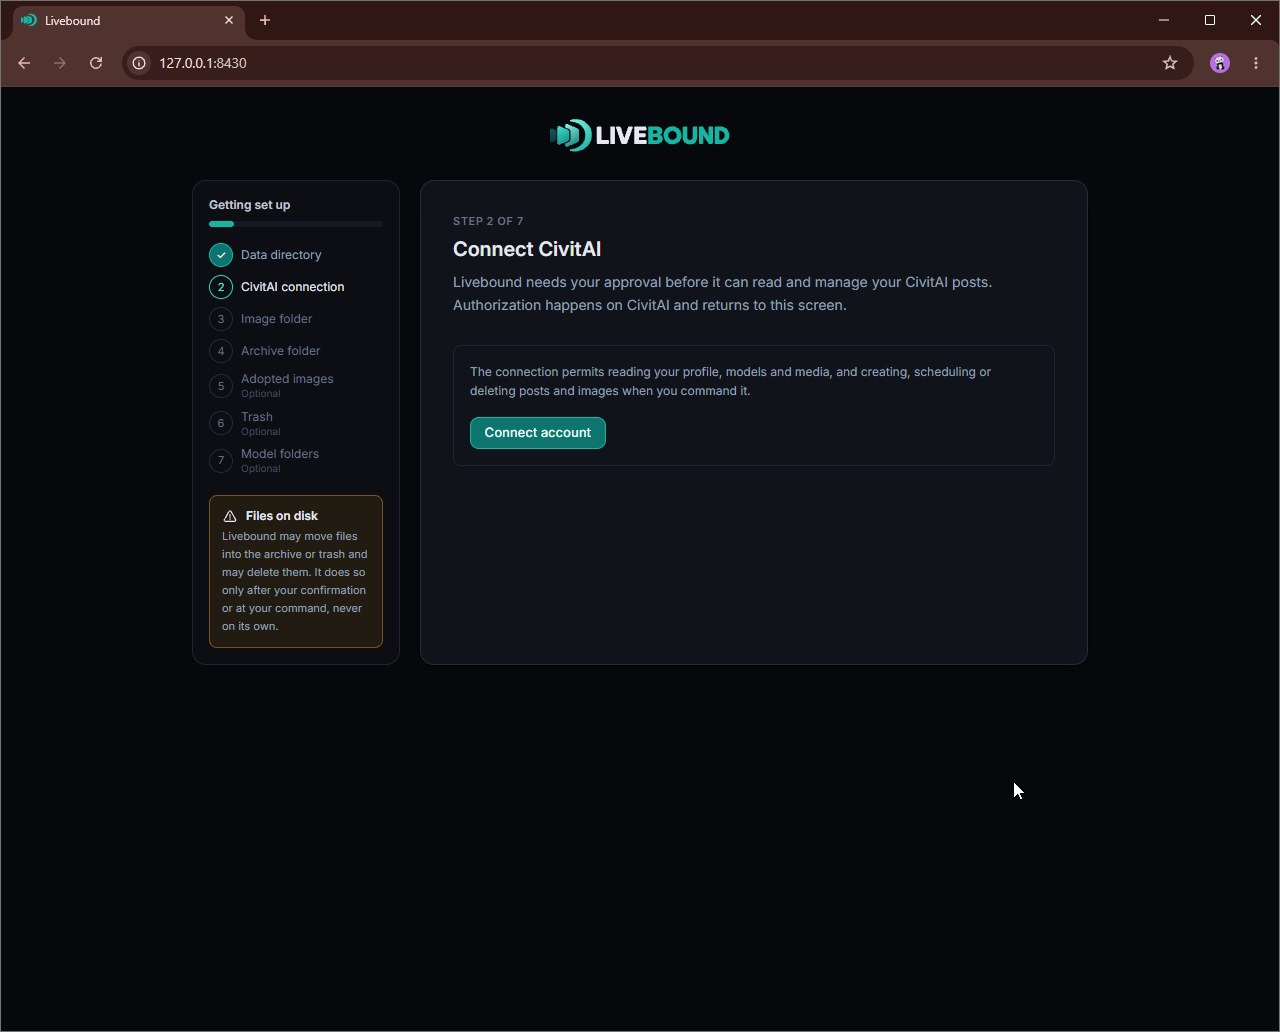
2. Connect CivitAI
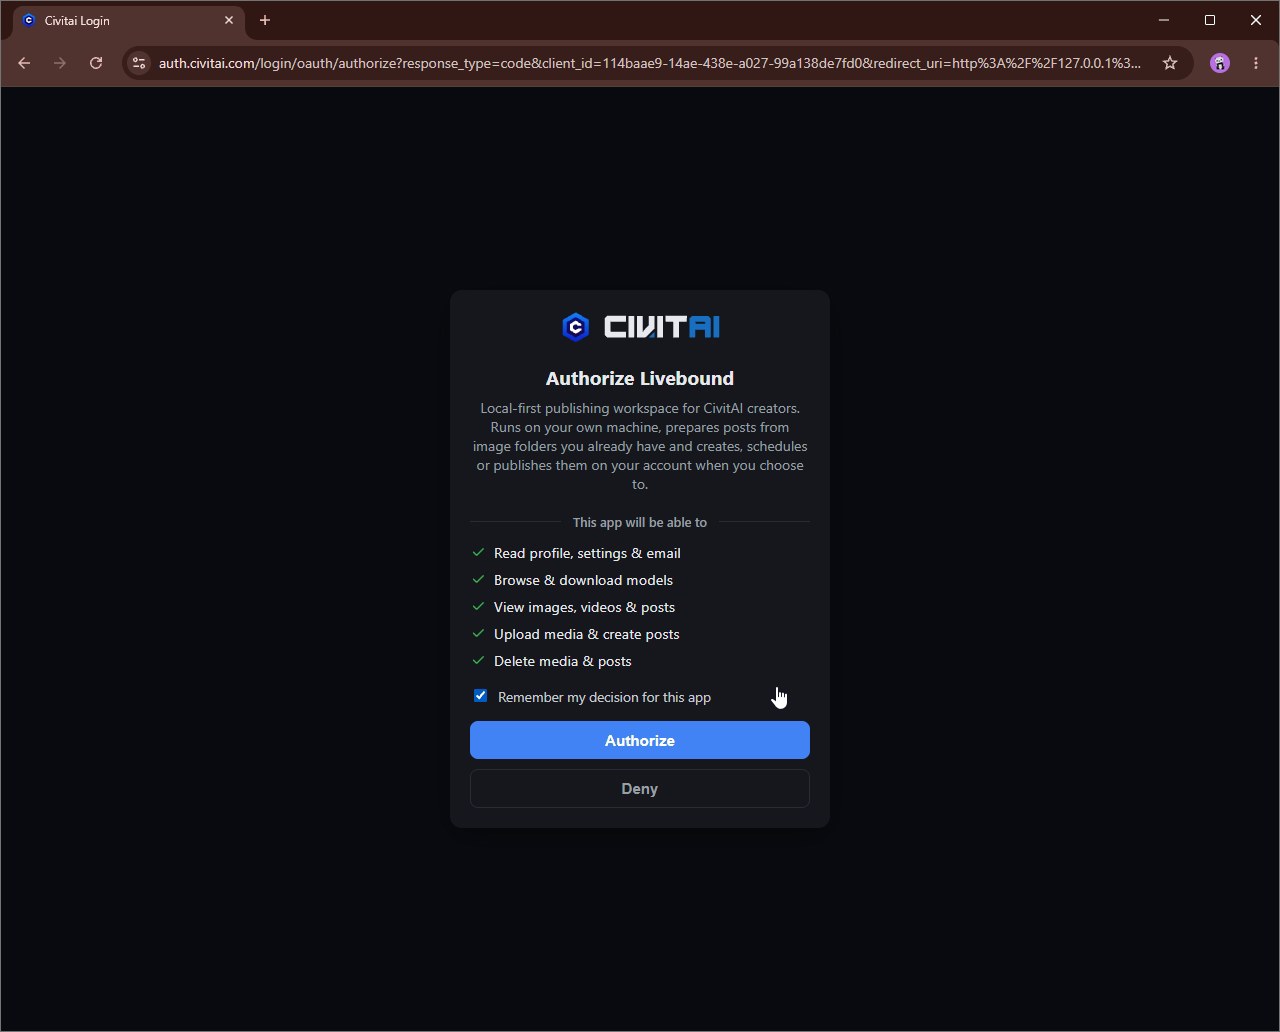
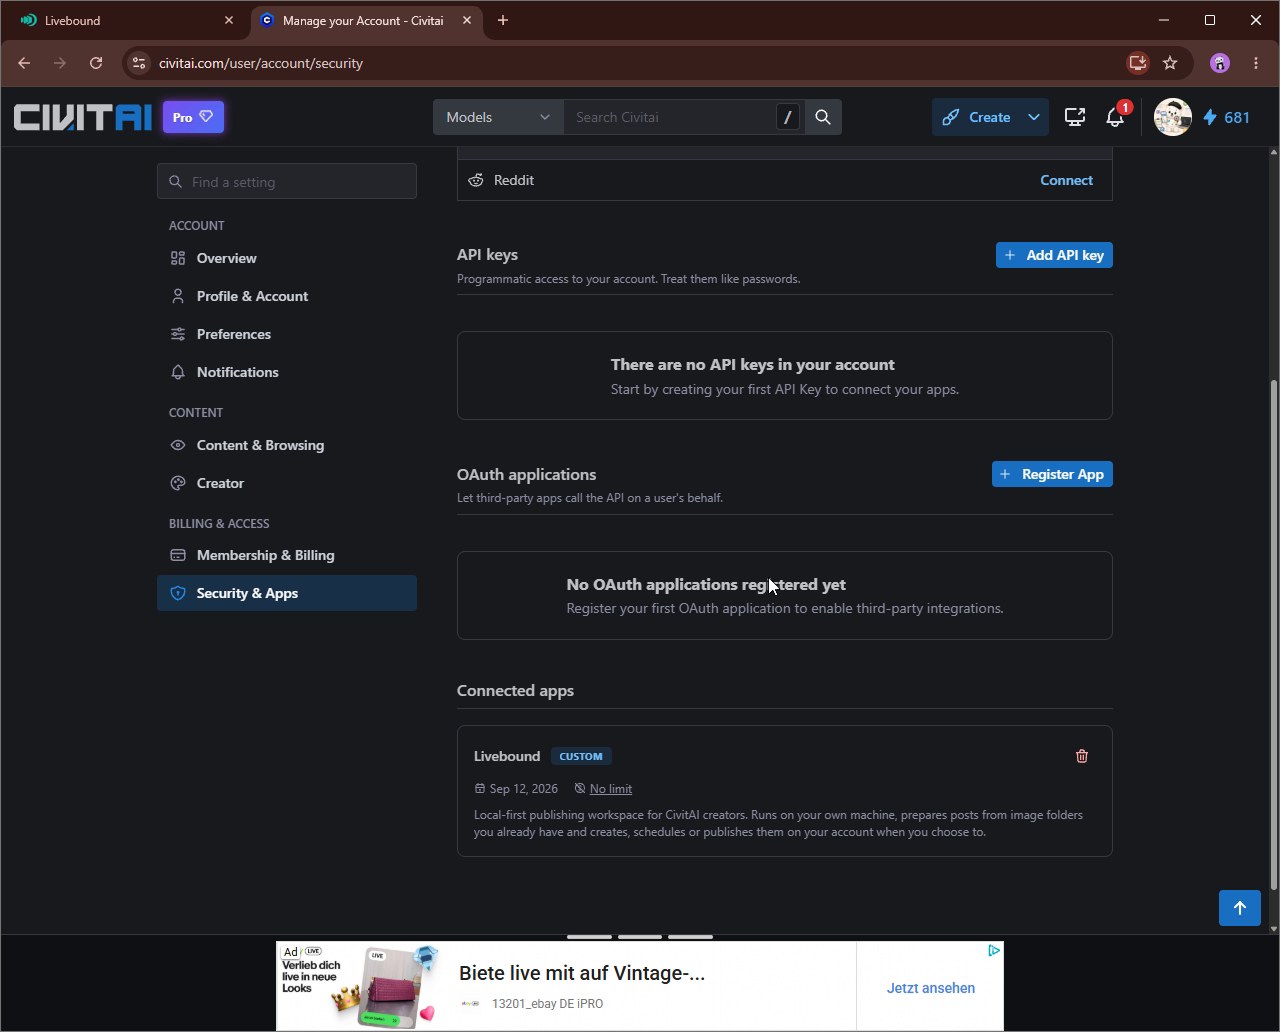
Livebound uses CivitAI OAuth. The browser takes you through CivitAI’s approval flow; there is no API key to paste into Livebound.
The connection is used for the operations Livebound performs on your instruction, including reading your profile and posts, resolving models, uploading media, creating or updating posts, and deleting remote media when you explicitly choose an operation that requires it.
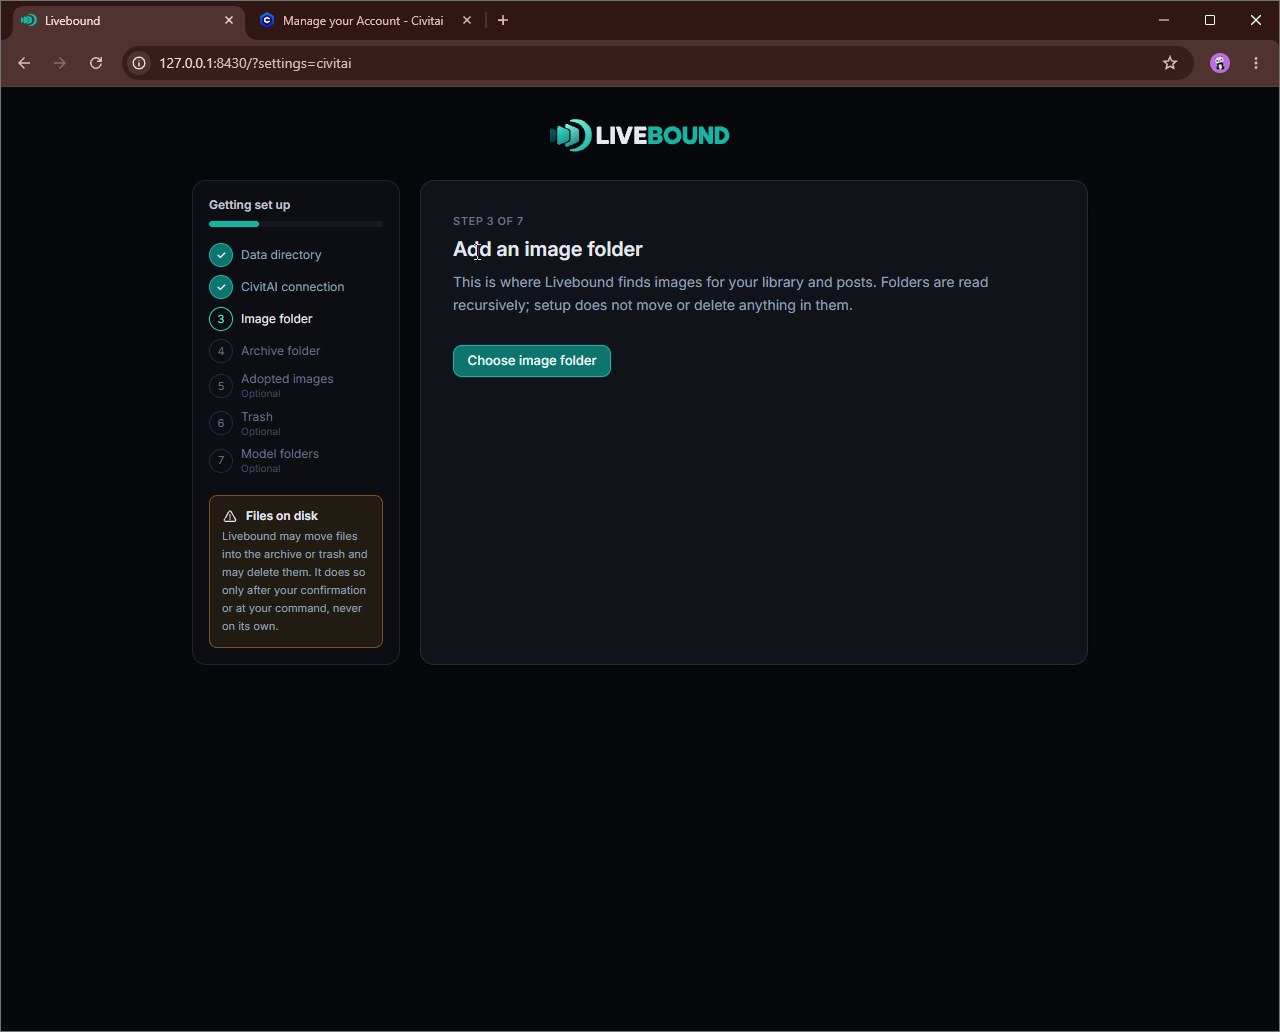
3. Add an image folder
Choose a folder that contains images you want in the Livebound library. Folders are scanned recursively. Setup does not move or delete files in the folder.
Additional image folders can be added later in Settings.
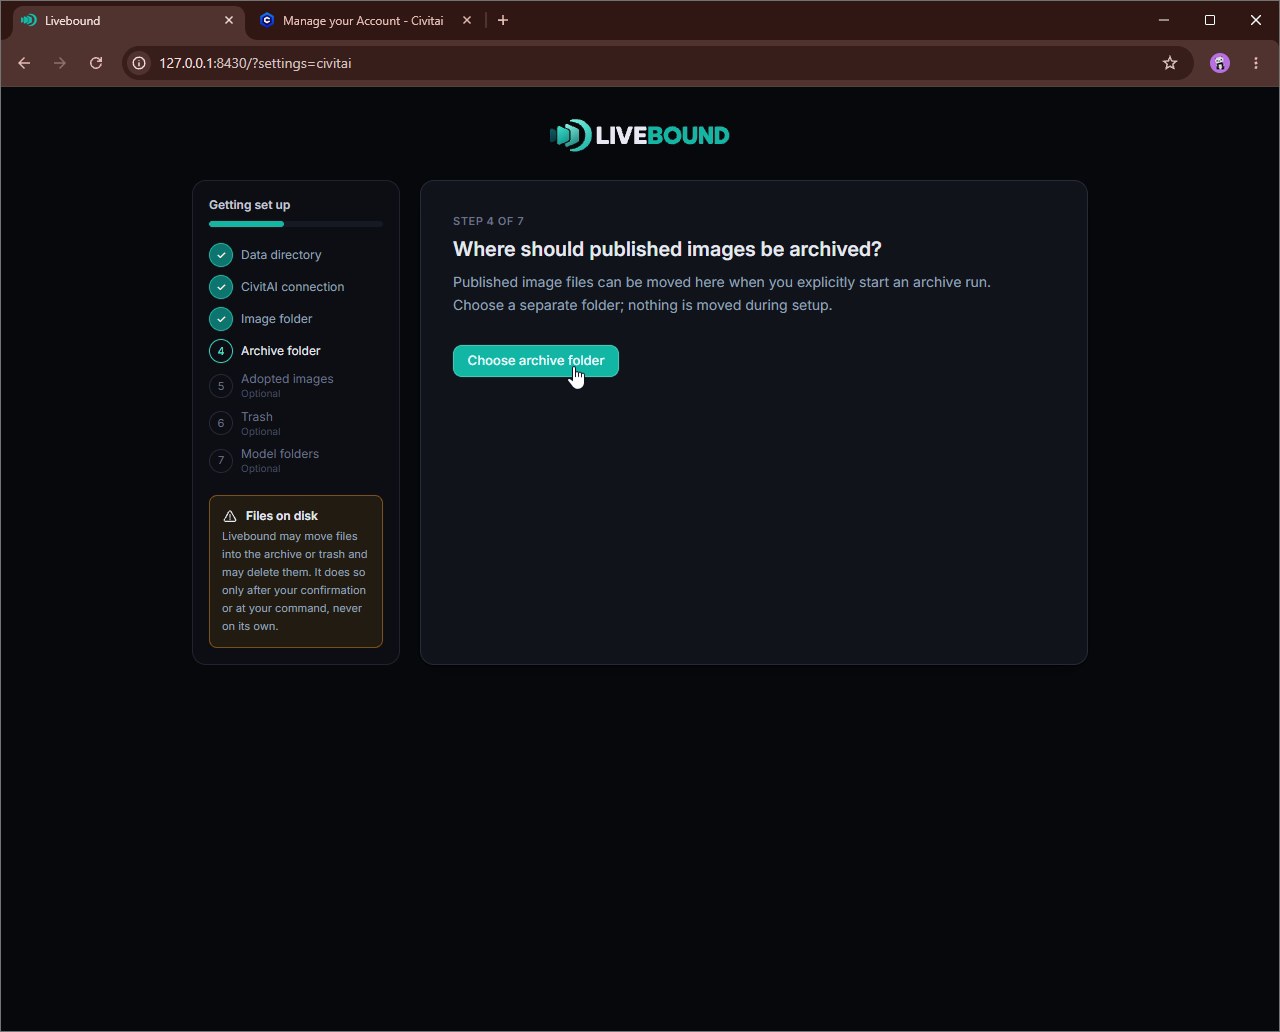
4. Choose an archive folder
The archive folder is the destination for the explicit archive workflow. Keep it separate from normal source folders.
Livebound does not move published files there automatically: a later archive run shows what will move and requires you to start the move.
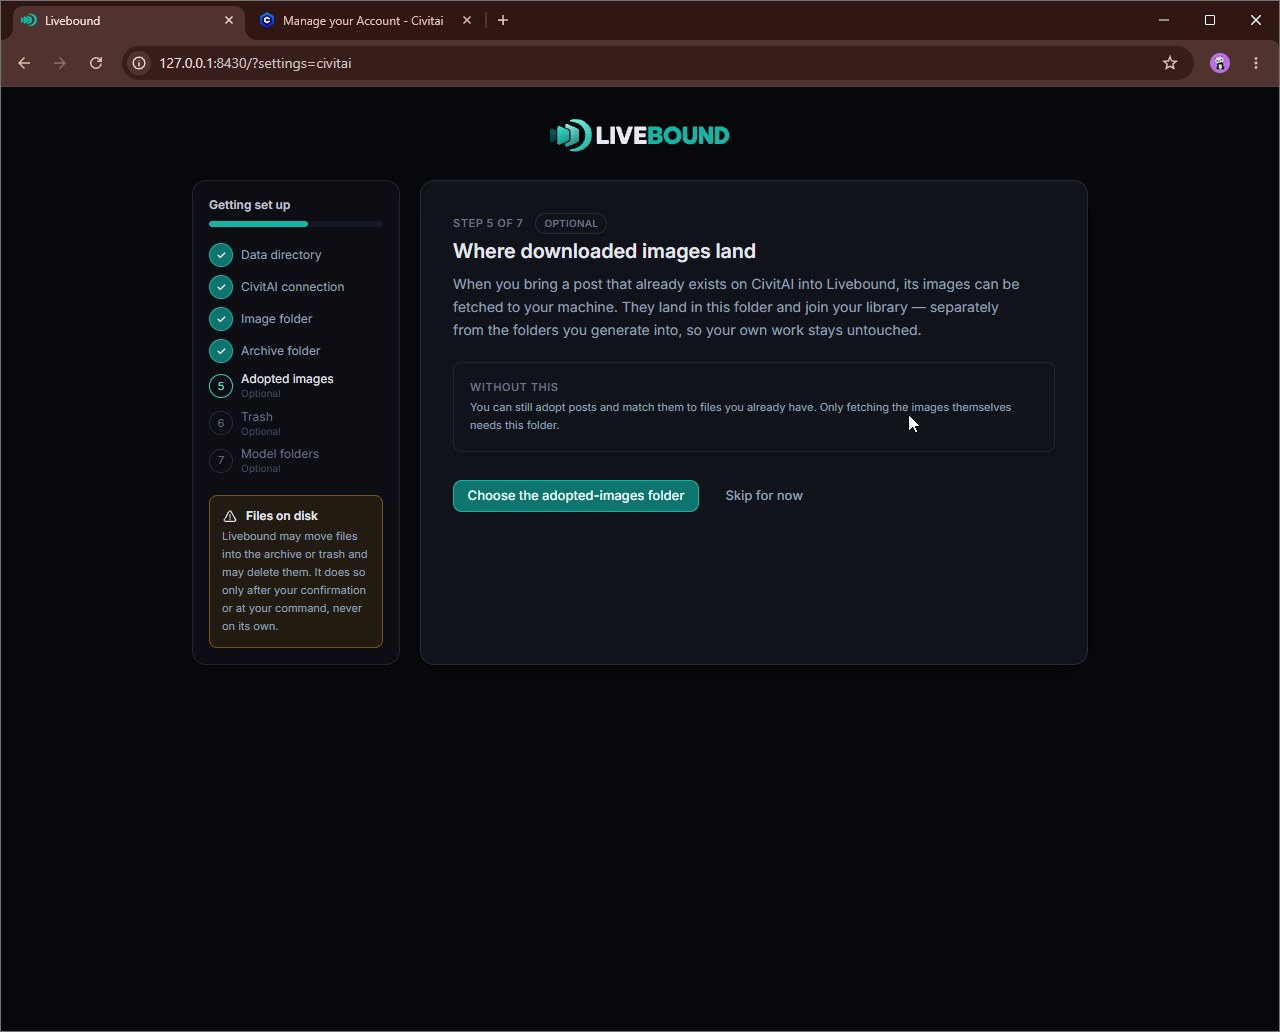
5. Where downloaded images land (optional)
When you adopt a post that already exists on CivitAI, its images can be fetched to your machine. They land in this folder and join your library, separately from the folders you generate into.
Skip it and you can still adopt posts and match them against files you already have — only fetching the images themselves needs this folder.
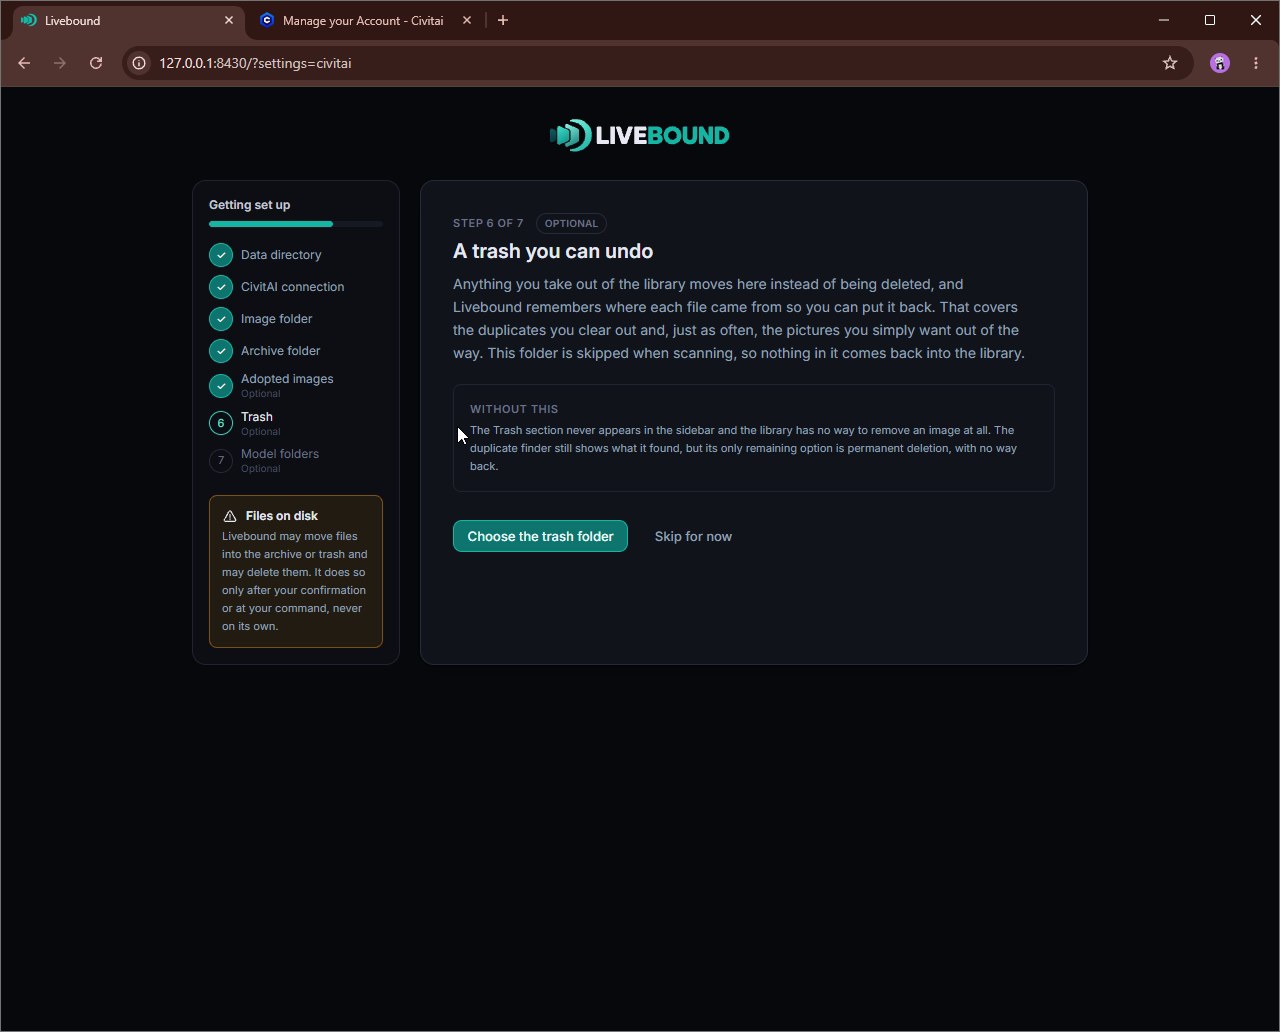
6. A trash you can undo (optional)
Anything you take out of the library moves here instead of being deleted, and Livebound remembers where each file came from so you can put it back. That covers the duplicates you clear out and, just as often, the pictures you simply do not want in the way any more. The folder is skipped when scanning, so nothing in it returns to the library.
Skip it and the Trash section never appears in the sidebar, and the library has no way to remove an image at all. The duplicate finder still shows you what it found, but its only remaining option is permanent deletion, with no way back.
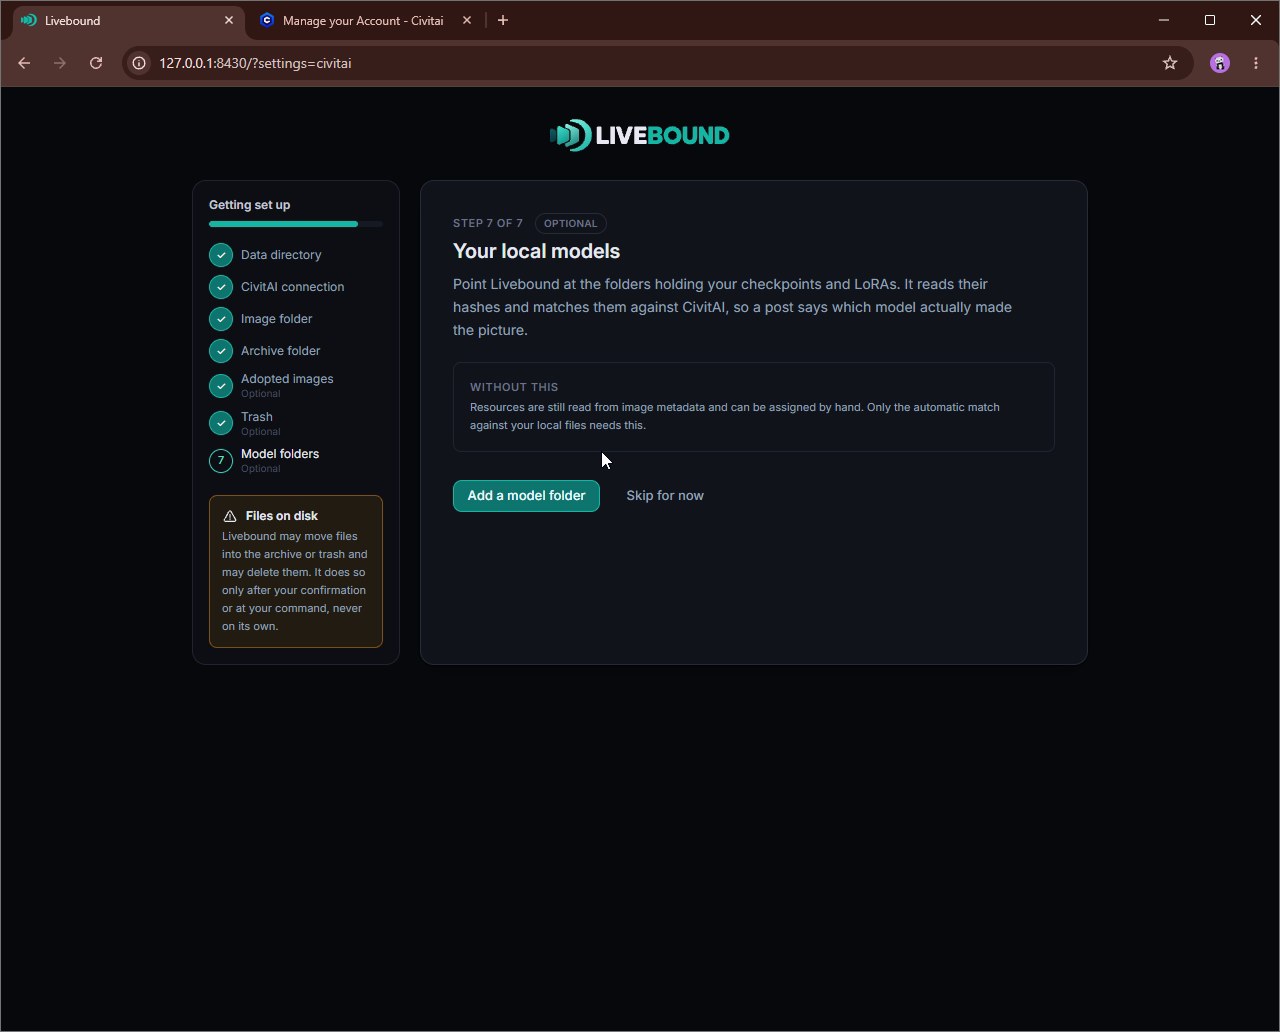
7. Your local models (optional)
Point Livebound at the folders holding your checkpoints and LoRAs. Setup registers those folders without reading them. Afterwards, use Hash in Settings to read their hashes and match them against CivitAI, so a post can say which model actually made the picture.
Skip it and resources are still read from image metadata and can be assigned by hand; only the automatic match against your local files needs this.
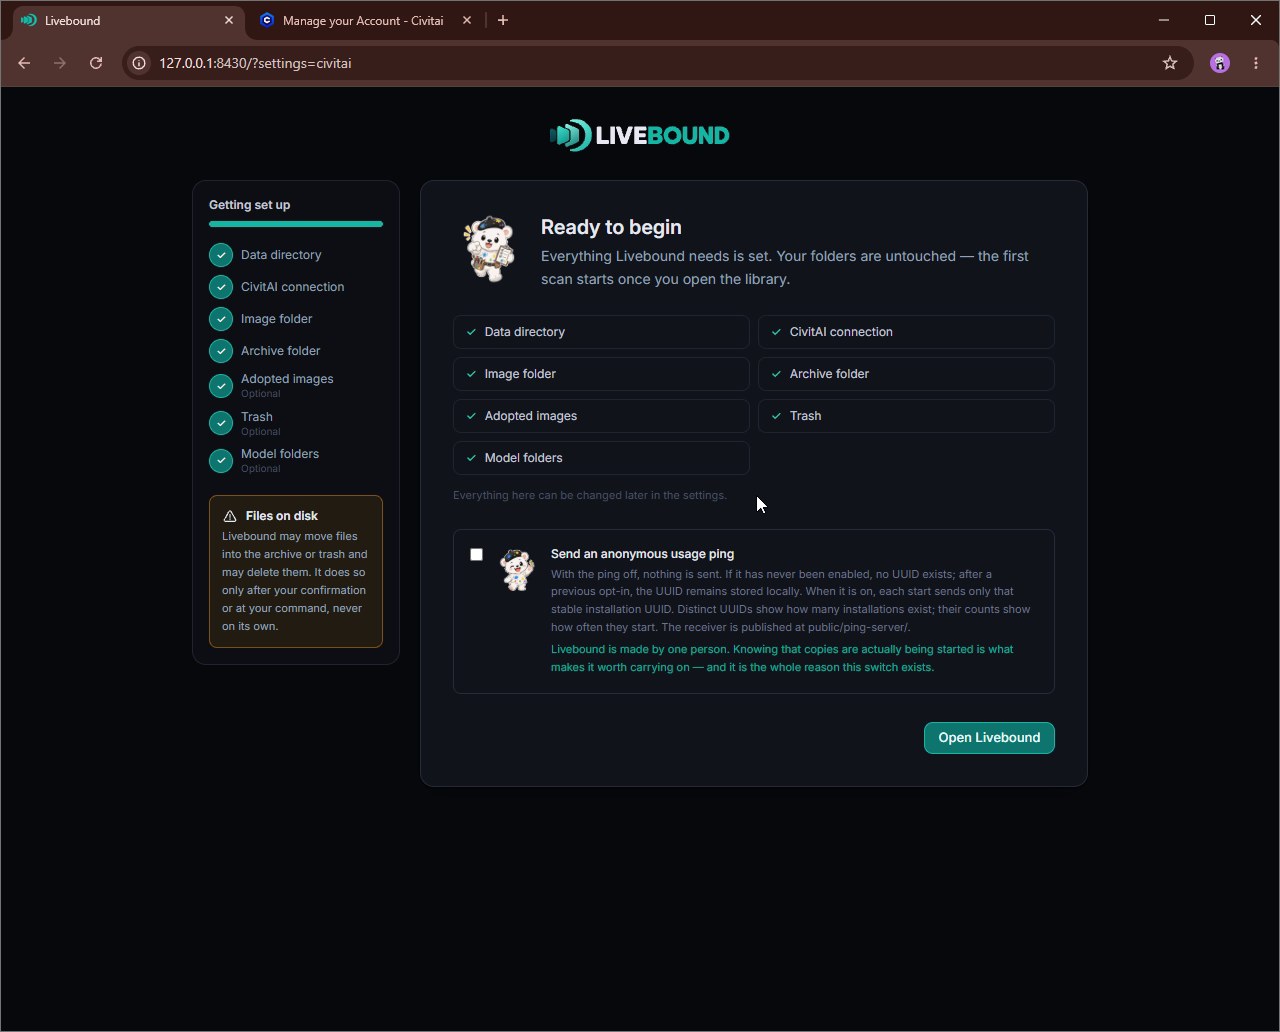
The optional usage ping
The usage ping is off unless you opt in, and Livebound does not create its installation UUID before that consent. When enabled, each application start sends only that stable random UUID. It does not include your CivitAI account, image library, prompts, operating system, version, or post content.
The setting can be changed later. The sender and receiver are both published; see Usage Ping for the exact payload and receiver behaviour.
After setup
Open the Library and scan your configured folders. The browser interface can be used in multiple tabs or windows like any other local web application.